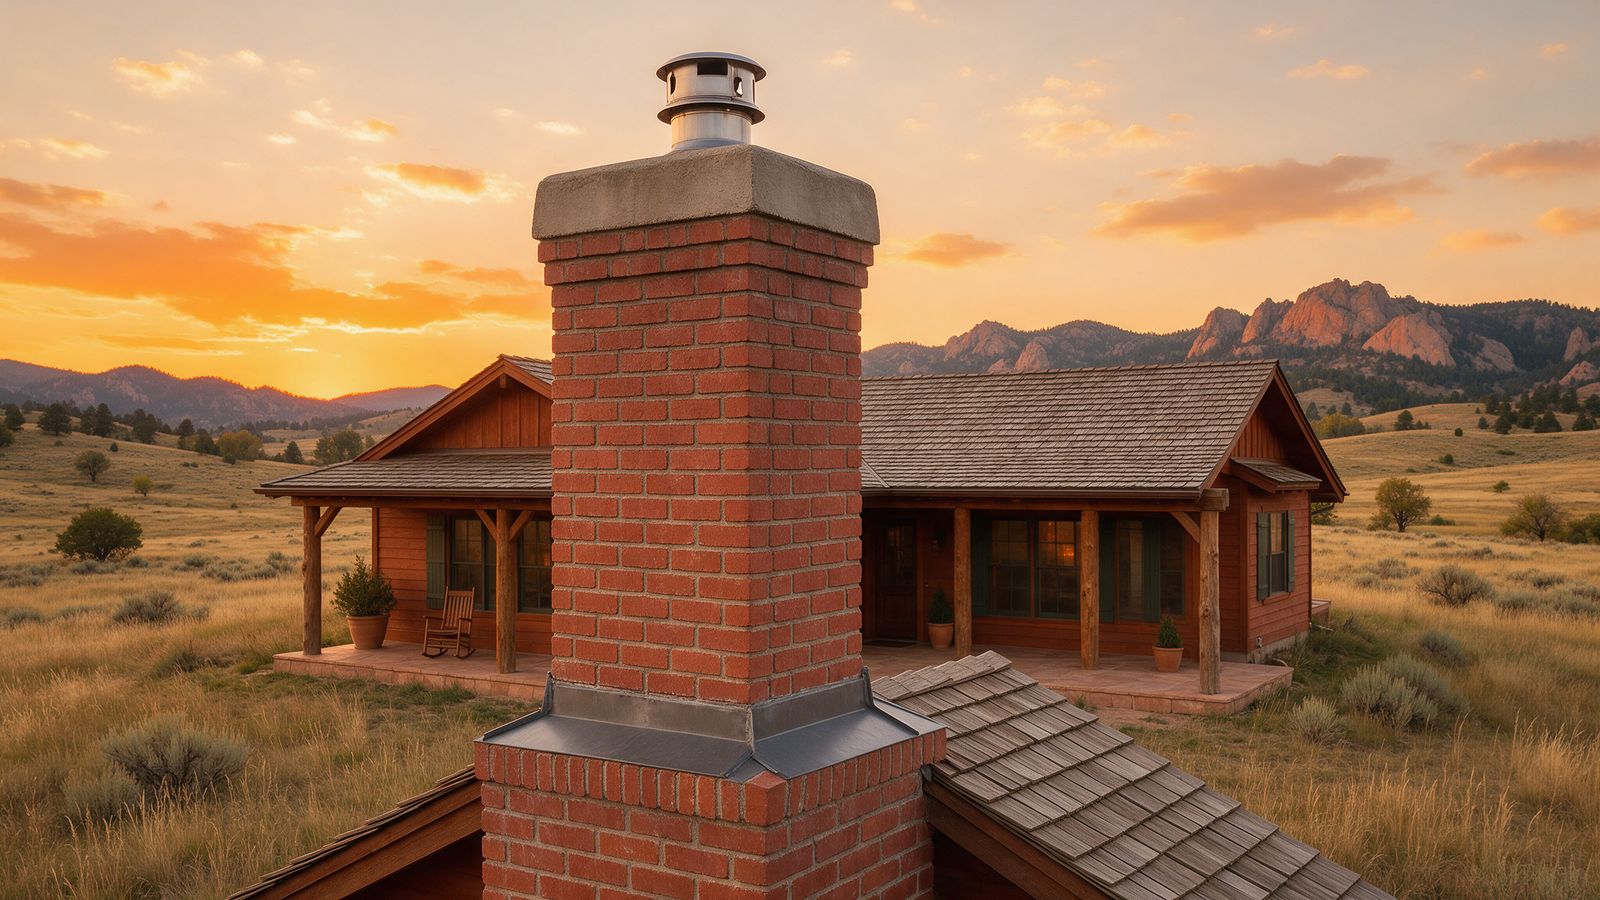
A chimney is a system for carrying combustion products out of the home while managing heat, weather exposure and structural support. The brick stack is only the visible portion. The firebox, smoke path, liner, termination and roof connection each have a different role. Understanding those parts makes inspection reports easier to read and repair decisions easier to evaluate.
Colorado homes also contain different kinds of chimneys. A masonry chimney and a framed chase around a manufactured vent can look similar after siding or veneer is added. Identify the construction before applying advice about mortar, crowns or replacement parts. The correct repair follows the actual system, not the exterior style.
Begin at the fireplace opening
The firebox contains the fire or houses the listed appliance components. In a masonry wood fireplace, firebrick and suitable refractory mortar are commonly part of that assembly. In a factory built fireplace, panels and metal components belong to a tested system with specific replacement instructions.[1]
The hearth protects the area around the opening as required by the fireplace design. Its visible finish does not reveal every layer underneath. Changing thickness, adding combustible flooring or reducing the exposed depth can affect the installation. A decorative remodel should preserve the required construction and clearances.
The mantel and surround also interact with heat. Stone on the face does not make wood framing behind it noncombustible. For a manufactured unit, the model manual controls many details. For masonry work, applicable code and the actual construction need to be considered together.
Follow the smoke path upward
In a traditional masonry fireplace, combustion products move from the firebox through the throat and smoke chamber into the flue. The damper controls the passage in applicable wood fireplace arrangements. Its position and condition matter, but changing the damper cannot correct every draft problem.
The flue is the internal passage. Its liner may be clay tile, a listed metal system or another suitable construction. The liner helps contain combustion products and heat. It is not the same thing as the exterior chimney wall, and its condition may require camera inspection to assess accessible internal surfaces.
An insert often uses a dedicated vent connection within the existing chimney. A gas appliance can have a different venting category and route from the wood fireplace that previously occupied the opening. Knowing what is connected is essential before changing caps, dampers or liners.
Identify the parts above the roof
| Part | Location | Job |
|---|---|---|
| Flue cap or termination | At the exhaust outlet | Protect the opening while permitting discharge |
| Masonry crown | Over the brick chimney walls | Shed water around flue penetrations |
| Chase cover | Over a framed chimney enclosure | Drain water from the enclosure top |
| Flashing | Where chimney meets roofing | Direct roof water around the intersection |
| Exterior masonry | Chimney walls | Provide the intended enclosure and support |
These parts can fail independently. A leaking crown, missing cap and defective flashing are different findings. An estimate should identify the component and describe the work rather than using chimney top repair for every condition.
“Learn the component names so every inspection finding can be connected to a specific function and repair.”
Understand what mortar joints do
Mortar bonds masonry units and helps the assembly handle weather and movement. Repointing replaces deteriorated joint mortar with compatible material. It should not consist of smearing new mortar over loose surfaces or using the hardest available mix without regard to the brick.
National Park Service guidance explains that compatibility includes strength and moisture behavior, not merely color.[2] A hard repair next to softer brick can shift damage into the masonry units. Good preparation exposes sound joint surfaces and protects brick edges while the replacement mortar is placed and cured.
Color matching still matters for visible work, but appearance does not establish performance. Ask how the mix was selected, whether a sample joint is appropriate and what protection the fresh work requires. A new looking joint can be unsuitable if the preparation or material was wrong.
Read common symptoms as questions
White deposits can show that moisture has moved through masonry, but they do not identify the entry point alone. Flaking faces may involve moisture, freeze conditions or incompatible repairs. Cracks can relate to local deterioration, thermal effects or structural movement. The inspection should explain the possibilities and supporting evidence.
Inside, smoke spill can involve obstruction, a cold flue, house pressure or geometry. Odor may involve deposits, moisture or wildlife. These symptoms cross component boundaries, which is why replacing the most visible part can leave the complaint unresolved.
Document when the symptom occurs and what changed beforehand. Recent roof work, an appliance conversion or a new exhaust fan can be relevant. A factual history helps the inspector evaluate the system instead of assuming every Colorado chimney behaves the same way.
Keep water shedding and drying in balance
Caps, crowns, chase covers and flashing reduce water entry at different points. Masonry also absorbs and releases moisture. Repairs should reduce harmful wetting while preserving appropriate drying. Coating over a failed joint does not reconstruct it, and painting damp brick can complicate the moisture problem.[2][3]
Ask whether a proposal repairs a leak route, replaces deteriorated material or applies a surface treatment. Those actions can complement one another, but they should not be described as equivalent. The estimate should explain which observation justifies each item.
Colorado's weather creates changing exposure, but the actual chimney condition still controls repair. Some materials require specific temperature and curing conditions. A schedule that follows those limits is more useful than a promise to use the same coating in any weather.
Distinguish inspection from cleaning and repair
Inspection establishes observations and evaluates suitability within a defined scope. Sweeping removes deposits and accessible debris. Repair corrects specific defects. One visit may include all three, but the report should make the completed work and unresolved findings clear.[4]
CSIA summarizes annual inspection guidance with cleaning and repairs when necessary. A home purchase, appliance change or suspected fire can require a different scope from routine continued use. Ask why the chosen inspection level fits the situation and what areas remain inaccessible.
A camera is valuable when it shows relevant surfaces clearly. It does not replace examination of the appliance, exterior, accessible clearances and other required areas. The strongest report connects images to locations and explains what each finding means for use or further investigation.
Make changes through a defined plan and retain the inspection history
- Identify the chimney construction and connected appliance.
- Gather manuals, prior reports and safe photographs.
- Describe the operating or moisture concern in concrete terms.
- Arrange an inspection suited to the planned work or event.
- Review a scope that names components, materials and limitations.
- Confirm applicable permits and retain the finished work record.
Parker publishes its adopted codes and permit information for properties within town jurisdiction.[5] Verify the authority for the actual address before construction. A mailing city is not always the same as the permitting authority, and different trades may need coordinated approvals.
When saving records, identify each flue by the appliance or room it serves. A chimney with several passages can contain systems with different fuels, histories and repair needs. An inspection of one passage should not be mistaken for approval of all the others. Include a simple labeled photograph or sketch if the arrangement is confusing. This is particularly helpful after an appliance is disconnected or a room is remodeled, when the original connection may no longer be obvious. Keep uncertainty visible in the record until a professional resolves it; an accurate unanswered question is more useful than a confident label attached to the wrong flue.
Update the record after each alteration.
Know which observations require immediate action
A carbon monoxide alarm or suspected chimney fire requires leaving the building and emergency assistance. Loose falling masonry, a suspected obstruction or smoke entering occupied rooms means the system should remain unused until evaluated. Do not keep lighting test fires to confirm a concern.
For routine questions, photograph labels and visible components from safe locations. Keep people away from unstable material and leave rooftop access to appropriately equipped professionals. Homeowner familiarity should improve communication, not encourage hazardous inspection work.
Parker Homestead Chimney's inspection, masonry and tuckpointing pages are useful starting points for discussing the system. Ask the contractor to name the parts in the photographs and connect each recommended repair to a documented condition. That shared vocabulary makes a chimney report much more useful than a list of unfamiliar terms.
Sources and further reading
- Chimney Safety Institute of America Homeowners Guide to Chimneys Fireplaces and Woodstoves
- National Park Service Preservation Brief 2 Repointing Mortar Joints
- CSIA Water and Your Masonry Chimney
- Chimney Safety Institute of America Homeowner Resources
- Town of Parker Building Codes
Sources accessed October 15 2026. Product manuals and applicable local requirements control specific installations.