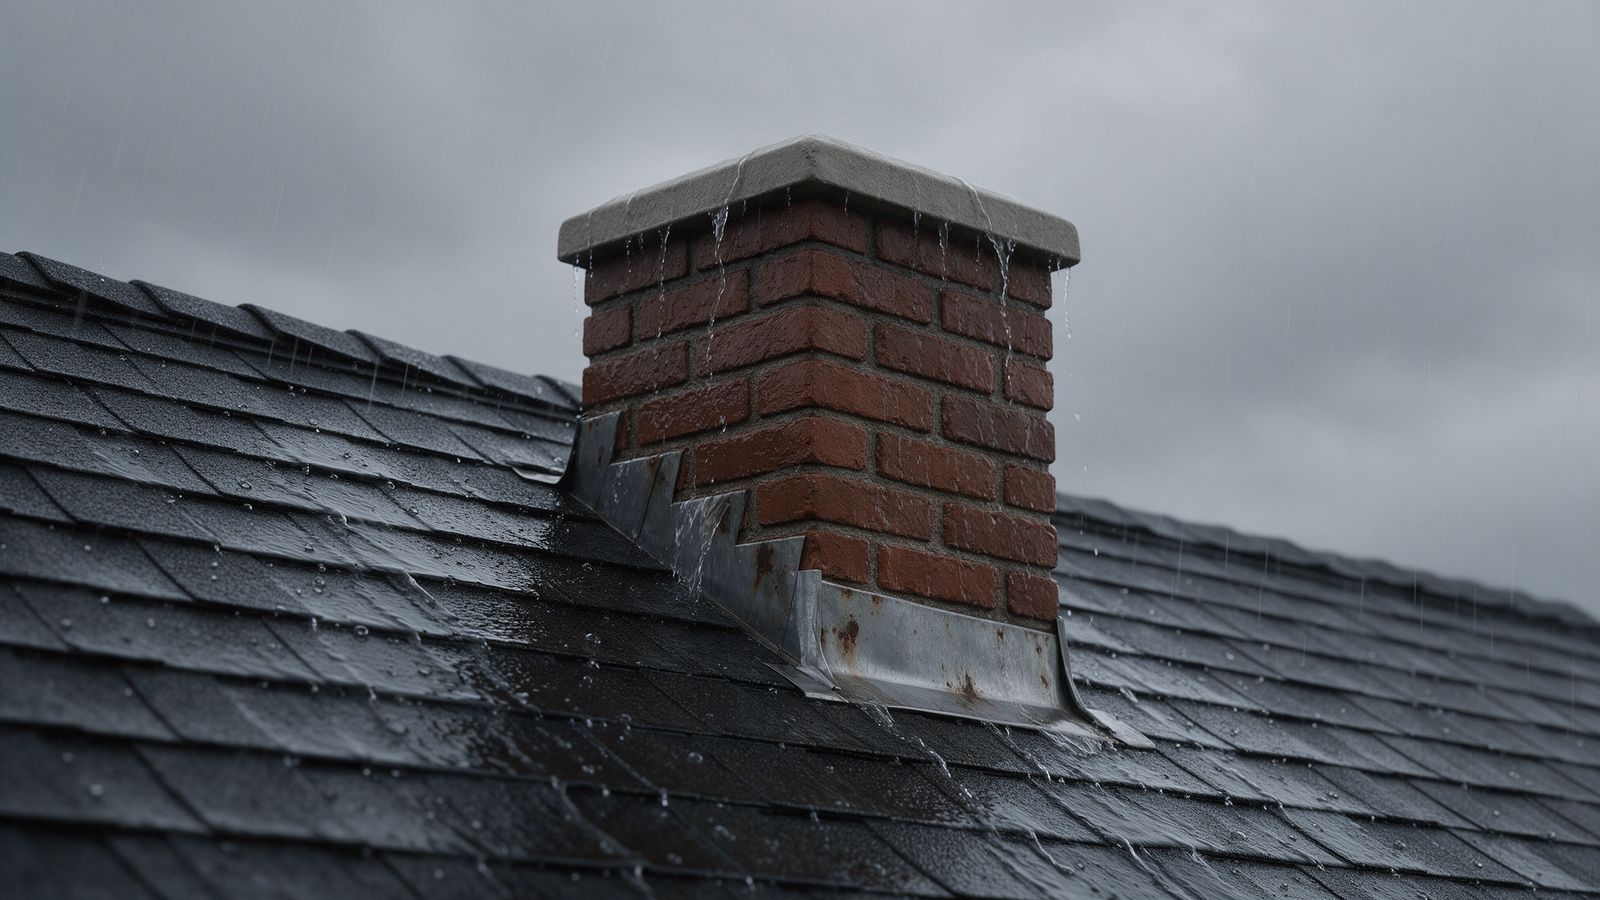
A leaking chimney can admit water through the cap, crown, masonry, flashing or a metal chase cover. Water can also appear because combustion gases condense inside an unsuitable vent. The stain tells you where moisture became visible; it does not identify the entry point. Successful repair starts by tracing that path before choosing a coating, sealant or replacement part.
In Parker, a leak may appear after rain, wind driven snow or a thaw. Record the conditions when it happens. A fireplace that gets wet only during a storm from one direction presents a different investigation from a chimney that shows dampness whenever an appliance runs. Those observations help narrow the inspection without turning a guess into a repair plan.
Protect the room and preserve the evidence
Move furnishings away from active drips and photograph the stain before cleaning or painting. If water reaches wiring, electrical controls or a gas appliance, stop using the affected equipment and arrange appropriate evaluation. Stay off wet or icy roofs. A homeowner does not need a rooftop photograph to make a useful first report.
Note the timing, duration and approximate location of the moisture. Include whether the fireplace was operating, whether snow was melting and whether other roof areas leaked. Keep prior invoices and photographs of earlier repairs. Repeated caulking in the same place is information about the repair history, not proof that the underlying joint is the source.
“A durable leak repair follows the water route from its entry point to the damage inside.”
Start with the chimney top
A rain cap covers the flue opening while allowing exhaust to leave. If the cap is absent, displaced or incorrectly sized, precipitation can enter directly. A cap cannot repair failed masonry around the opening. Inspect its fastening and the material supporting it before assuming that replacing the lid completes the job.
The crown is the sloped masonry or concrete surface around the flue tiles. It should shed water away from the chimney body. Cracks, missing edges and open joints around tiles can admit moisture even when the cap is present. The Chimney Safety Institute of America identifies caps, crowns, flashing and masonry absorption as separate water protection concerns.[1]
Framed chimney chases usually have a metal cover rather than a masonry crown. Rust, low spots, failed collars and poorly detailed edges can channel water into the enclosure. Surface rust may be cosmetic, but holes or failing seams require a different response. Ask whether the estimate concerns a flue cap, crown or chase cover so the terminology is unambiguous.
Examine the roof connection
Flashing directs roof water around the chimney. On masonry chimneys, the system commonly includes roof flashing and counterflashing integrated with the chimney. A surface bead of sealant is not an equivalent replacement for missing or incorrectly arranged metalwork.
Water can travel along framing or under roofing before appearing near the fireplace. That means a ceiling stain beside a chimney may originate uphill on the roof. A repair assessment should include adjacent shingles, valleys and drainage conditions rather than assigning every nearby stain to the chimney itself.
Roof replacement can also change the investigation. New roofing does not prove that the chimney flashing was replaced or correctly reused. Compare the roofing contract with the visible work and ask both trades to identify their responsibility where systems overlap.
Understand masonry absorption and freeze damage
Brick and mortar absorb and release moisture. Deteriorated joints, cracked units and incompatible repairs can allow more water into the wall. When saturated masonry freezes, deterioration may worsen. Flaking brick faces, powdery joints and recurring white deposits deserve evaluation, but each can have several contributing causes.
National Park Service guidance explains why mortar compatibility matters. Mortar that is too hard or insufficiently permeable can redirect stress and moisture into adjacent masonry.[2] Repointing should address failed joints with suitable materials, not simply cover the wall with a hard surface smear.
A breathable water repellent may be appropriate on sound masonry after defects are corrected. It cannot reconnect loose brick, rebuild a failed crown or replace flashing. Painting over damp brick can complicate drying and make future diagnosis harder. Ask what the proposed treatment changes and what it leaves unresolved.
Separate rain entry from condensation
Combustion produces water vapor. If exhaust cools excessively or the vent is unsuitable for the appliance, moisture may condense. Symptoms can include interior staining, corrosion or wet debris without an obvious storm connection. The answer may involve vent sizing, liner compatibility or appliance operation rather than another exterior sealant.
This distinction matters after a fuel conversion or appliance replacement. A chimney that worked acceptably with one appliance may not suit a different exhaust temperature or venting category. The inspection should identify every connected appliance and trace the vent route before any liner recommendation.[3]
Condensation can also occur on cold surfaces because of indoor humidity. A broader building moisture assessment may be needed when chimney repairs fail to change the pattern. The contractor should distinguish an observed water trail from an inferred cause.
Match symptoms with an investigation
| Observation | Possible explanation | Useful next check |
|---|---|---|
| Wet firebox after rain | Cap, crown or exposed flue entry | Inspect the entire termination |
| Ceiling stain beside chimney | Flashing or nearby roof defect | Trace roof and attic water paths |
| Rust inside a framed chase | Chase cover or condensation | Examine cover seams and venting |
| White deposits on brick | Repeated moisture movement | Identify wetting and drying routes |
| Dampness during appliance use | Vent condensation | Verify appliance and liner compatibility |
The table organizes possibilities; it is not a diagnosis. A chimney may have more than one defect, and a repair can solve one pathway while leaving another active.
Use a controlled repair process
- Record the weather and operating conditions associated with the leak.
- Inspect the chimney top, exterior masonry and roof interface.
- Review accessible attic and interior surfaces for water travel.
- Evaluate condensation when the pattern suggests appliance involvement.
- Define each repair and its evidence in a written scope.
- Verify the result after appropriate curing and comparable weather.
Controlled water testing may help when visual findings remain uncertain. It should isolate areas rather than flood the entire chimney at once. Broad spraying can create an artificial leak path and make several components appear guilty. Testing also requires care around electrical equipment and concealed interiors.
Read the repair estimate closely and clarify verification expectations
A useful proposal names the failed component and the work needed to correct it. For flashing, that means more than reseal chimney. For a crown, distinguish crack treatment from rebuilding. For masonry, identify which joints or bricks will be repaired and how the new materials will be selected.
Ask about drying, curing and weather limits. Some products cannot be applied to saturated or frozen substrates. Temporary protection may be necessary before permanent work can proceed. An honest schedule follows material requirements rather than promising the same repair in every season.
Clarify whether interior restoration is included. Repairing the water source does not automatically cover stained drywall, insulation or paint. Coordinate that work after the source is addressed and the assembly has had an appropriate chance to dry.
Agree on a realistic verification period before interior finishes are restored. Comparable weather may be needed to judge whether a repair addressed the original pattern, and some assemblies require time to dry. Keep dated photographs from the same viewpoint so changes can be compared. A fading stain is different from a new wet area, and an old mark does not automatically mean the repair failed. If moisture returns, share those records and ask which pathway remains possible. This supports a focused follow up rather than another broad application of sealant without new evidence.
Include that expectation in the contract.
Know when to stop using the fireplace
Keep the system out of service if water reaches electrical parts, masonry is loose, the flue may be obstructed or smoke enters the room. A carbon monoxide alarm or suspected gas leak requires immediate emergency action rather than waiting for a leak appointment. Water damage can affect combustion safety even when the original complaint was only a stain.
For an ordinary recurring leak, contact Parker Homestead Chimney through the chimney repair page with photographs, weather notes and past repair information. Request an assessment that separates the observed damage, likely entry points and proposed verification. That record makes it easier to approve a focused repair and judge whether it worked after the next comparable storm.
Sources and further reading
- CSIA Water and Your Masonry Chimney
- National Park Service Preservation Brief 2 Repointing Mortar Joints
- Chimney Safety Institute of America Homeowners Guide to Chimneys Fireplaces and Woodstoves
Sources accessed October 15 2026. Product manuals and applicable local requirements control specific installations.
Related services
- Chimney repair in Parker
- Chimney cap repair and installation
- Chimney crown repair
- Mortar joint repair and tuckpointing